Syncing Forms with Google Calendar
Learn how to sync your forms with Google Calendar to automatically add and manage event sign-ups.
Syncing Forms with Google Calendar
You can sync your forms with Google calendar. Google calendar syncing requires a Premium (or Boost) account. There are two separate ways to sync, and you can use either one or both:
- Sync sign-ups in: as people sign up, each response is instantly added to your calendar as an event (and removed if the sign-up is deleted). This is best for tracking who signed up for what.
- Publish signup slots out: each option that has a date/time is published to a calendar as its own event, with a link back to your form. This is best for posting your schedule to a public calendar so people can browse the events and click through to sign up.
Sections in This Guide
- CONNECT A GOOGLE CALENDAR
- ADDING DATES/TIMES TO FORM OPTIONS
- SYNC SIGN-UPS TO YOUR CALENDAR
- PUBLISH SIGNUP SLOTS TO A CALENDAR
CONNECT A GOOGLE CALENDAR
Step 1
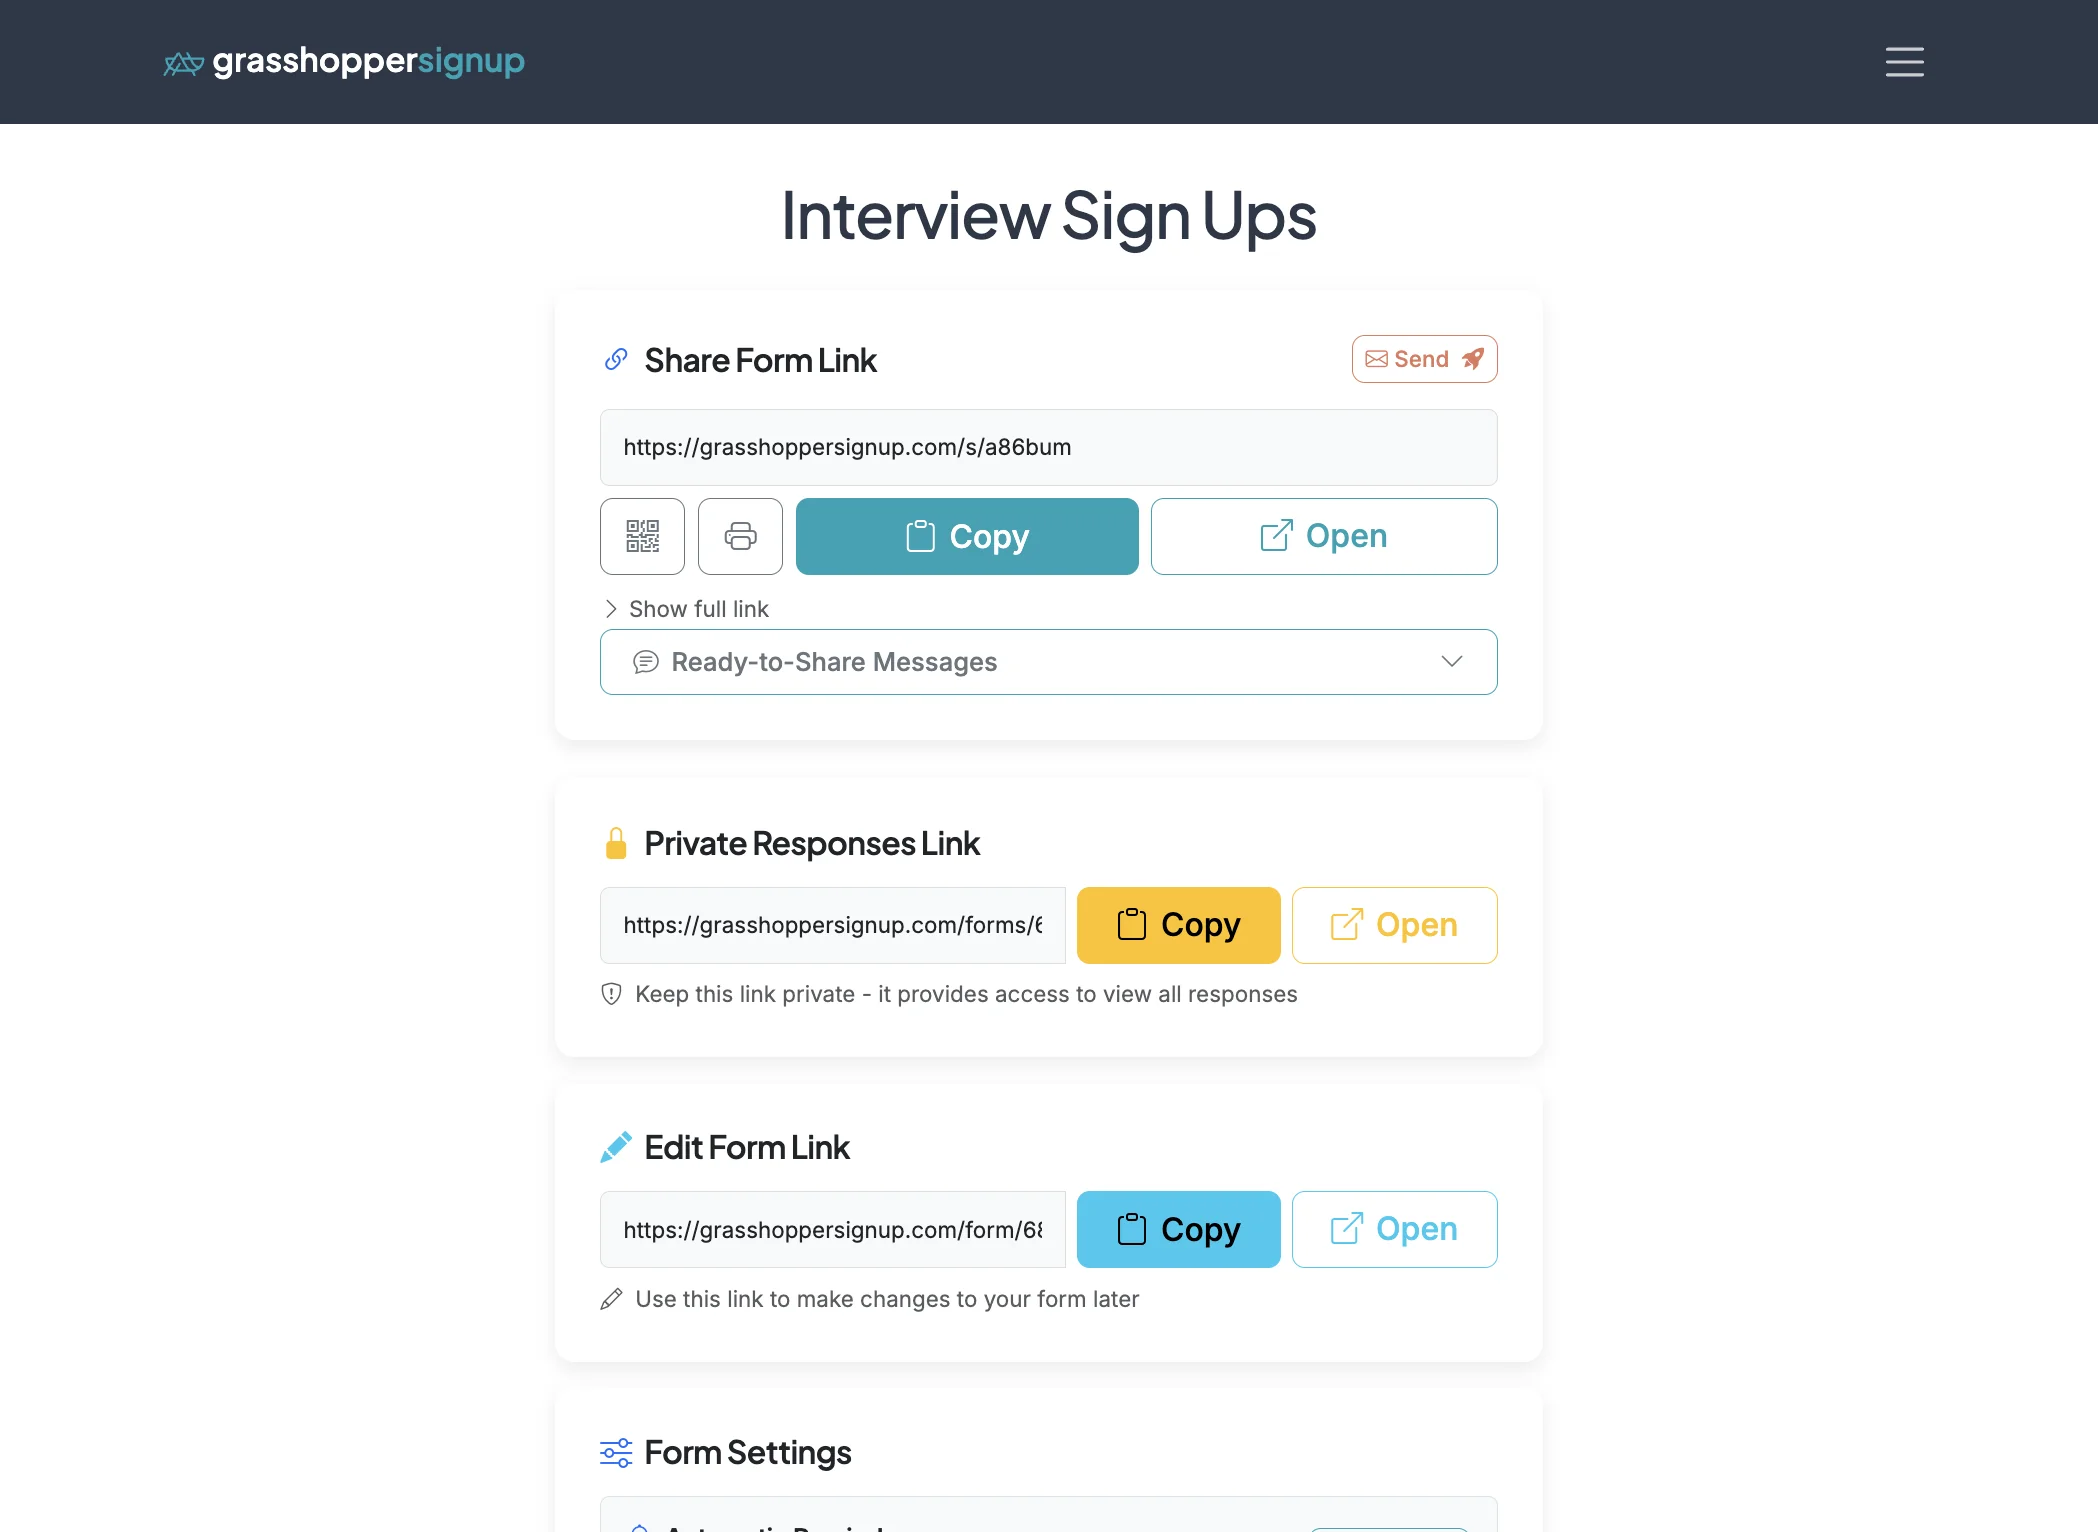
Start on the Form Options page of your form.
Step 2
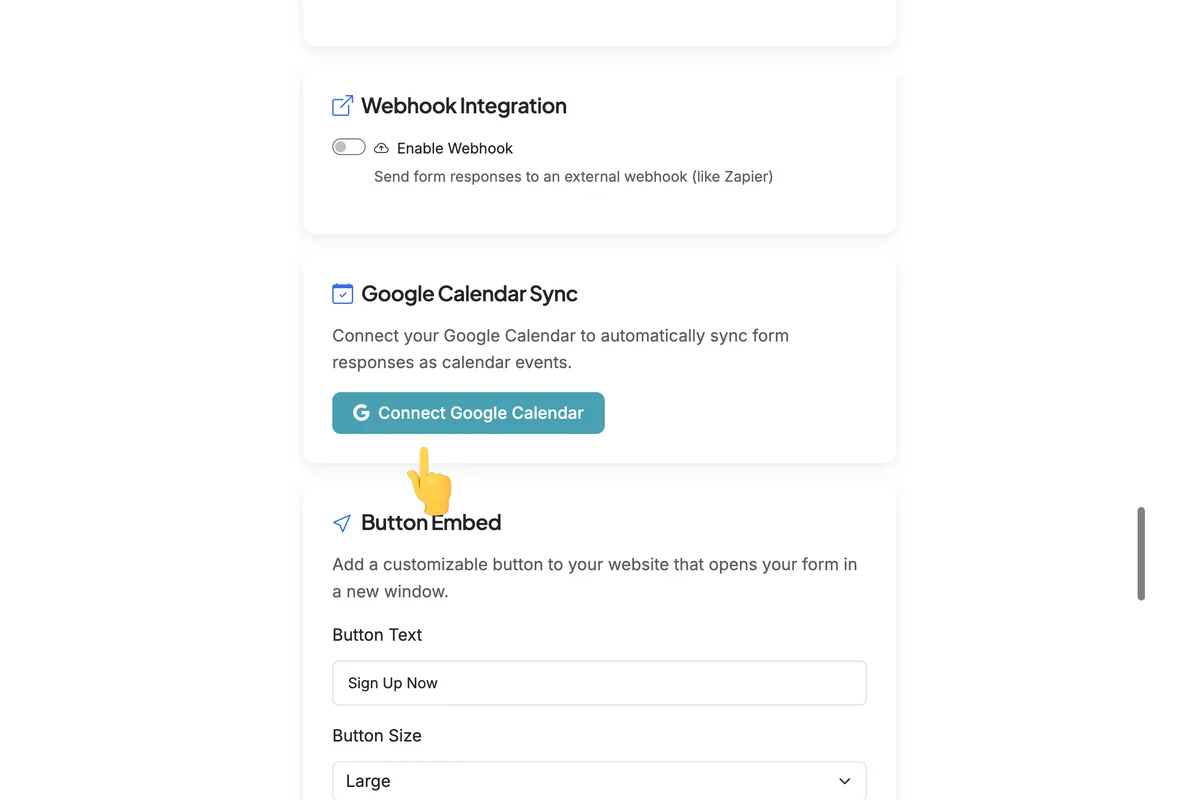
Scroll down to the Google Calendar Sync section. Click 'Connect Google Calendar' and accept all permissions.
Step 3
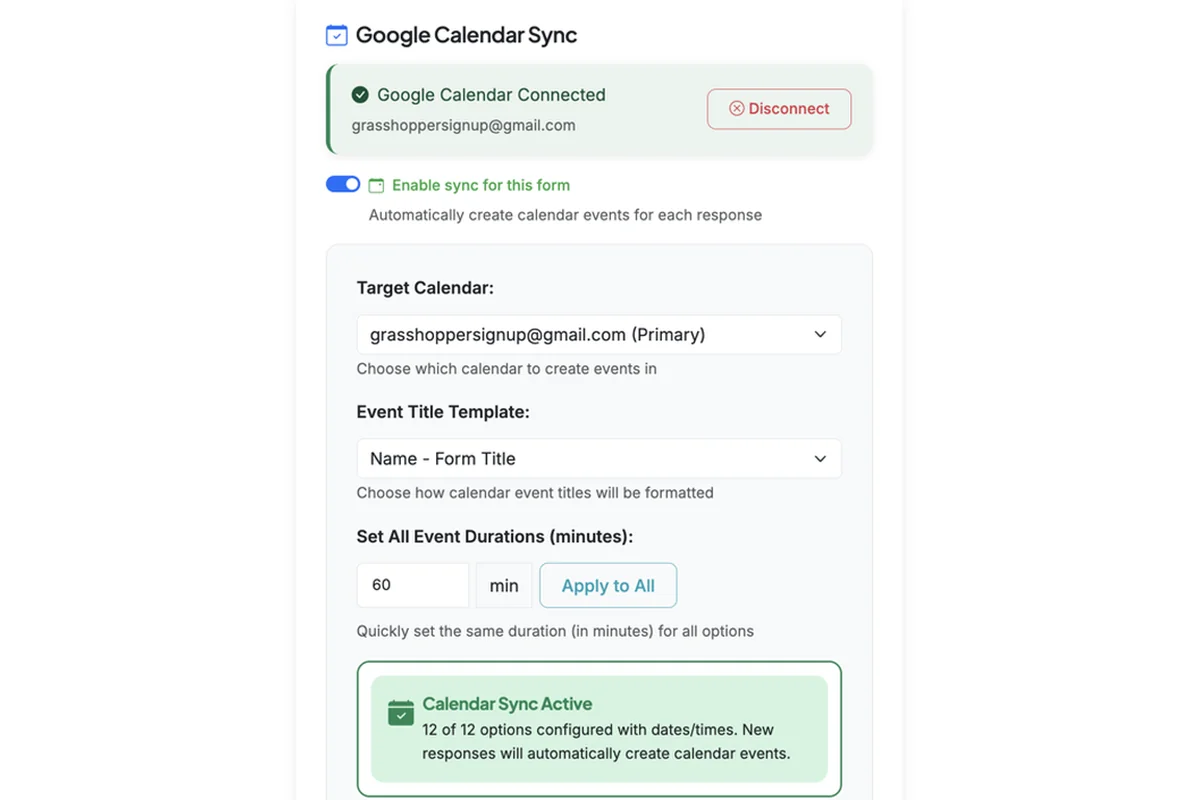
After you have connected a Google account with calendar permissions, you can 'Enable sync for this form'. This will enable syncing and open the configuration options.
Step 4
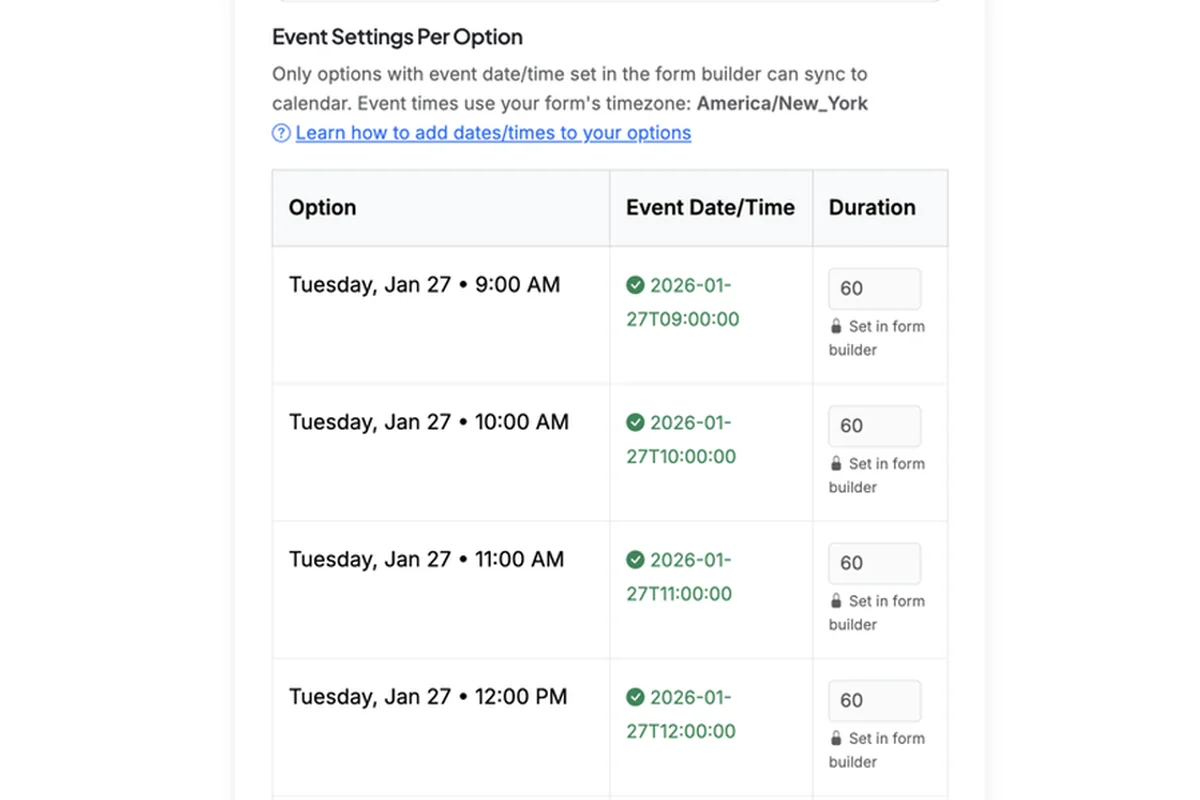
The most essential requirement for calendar syncing is that you have 'Assign Dates/Times to Options' enabled on your form (more info below). The Event Settings per option in the calendar sync setup will show you which options have dates/times set and will automatically pull in that information. You can adjust duration if it was not already set in the form.
ADDING DATES/TIMES TO FORM OPTIONS
Step 1
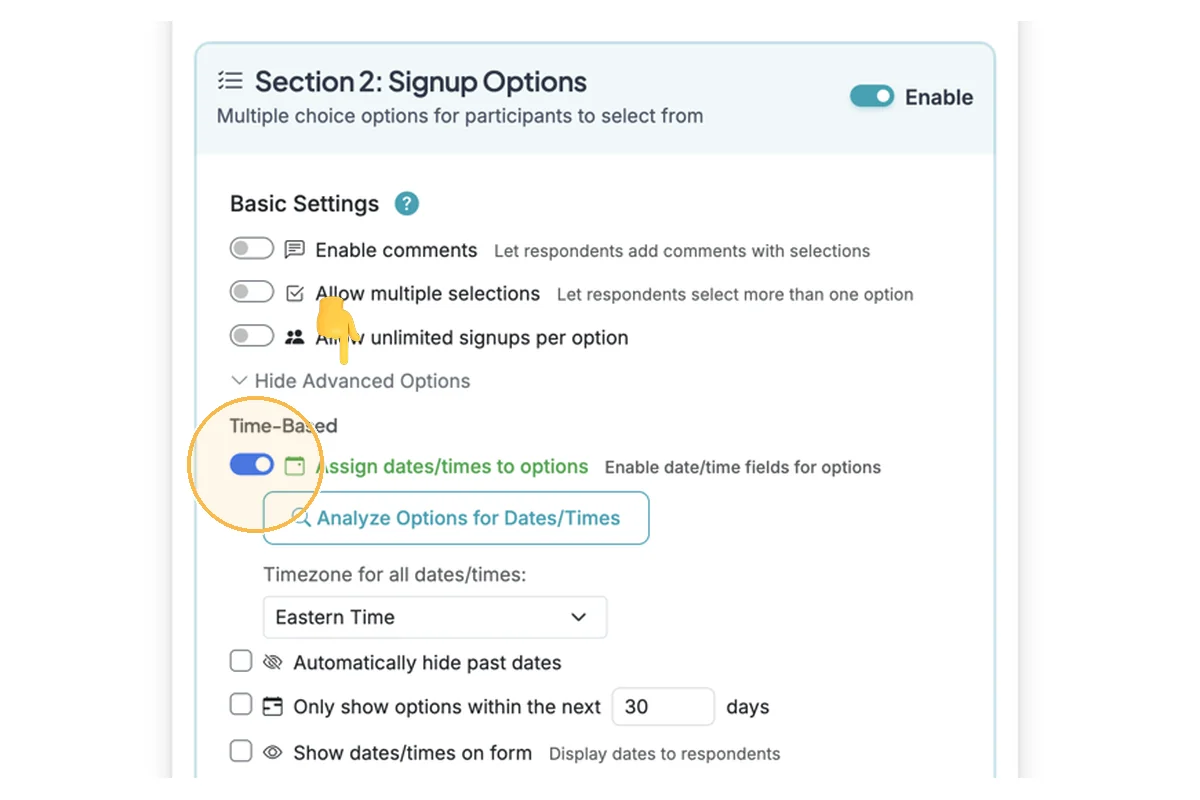
Calendar syncing requires dates/times to be set on options to sync them. You can find this option on the Edit page for your form in Advanced Options.
Step 2
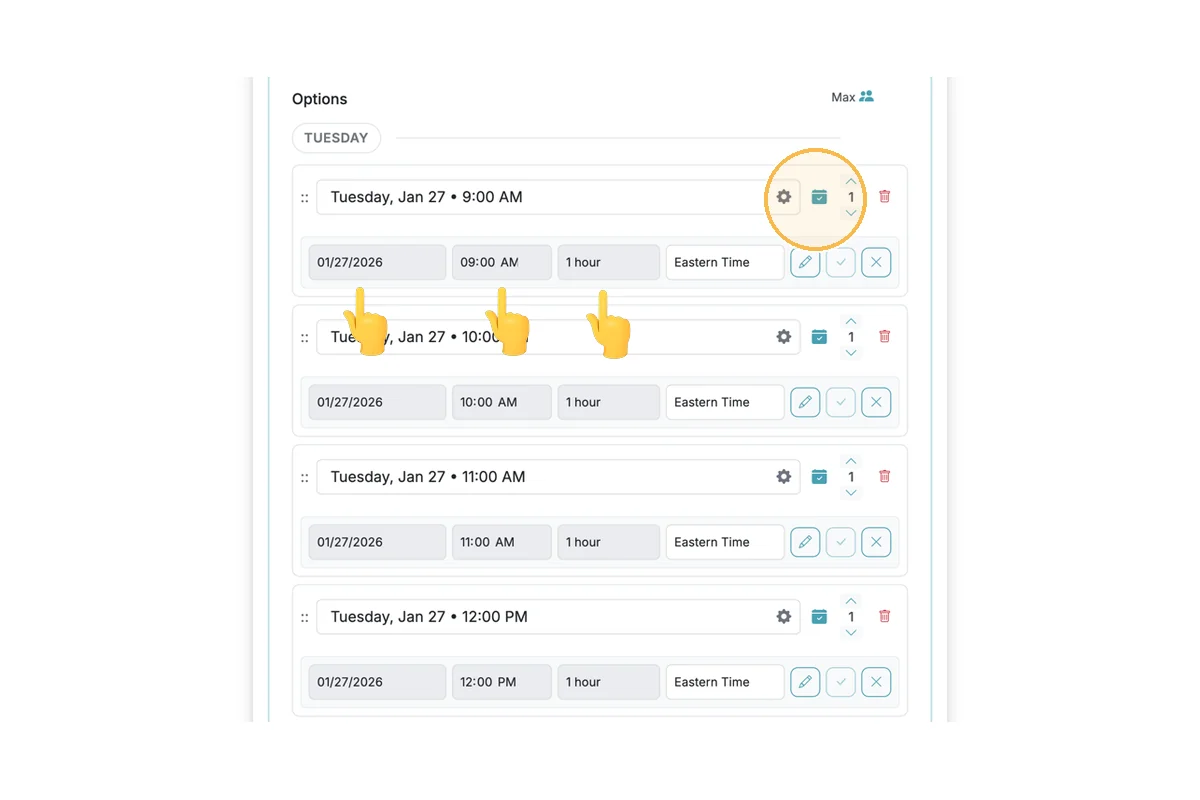
After you enable dates/times, you can have AI scan the form to try and parse dates times. You can also manually configure dates/times. Make sure to save dates/times and check them thoroughly. A teal calendar check mark will indicate that dates/times are saved.
SYNC SIGN-UPS TO YOUR CALENDAR
Step 1
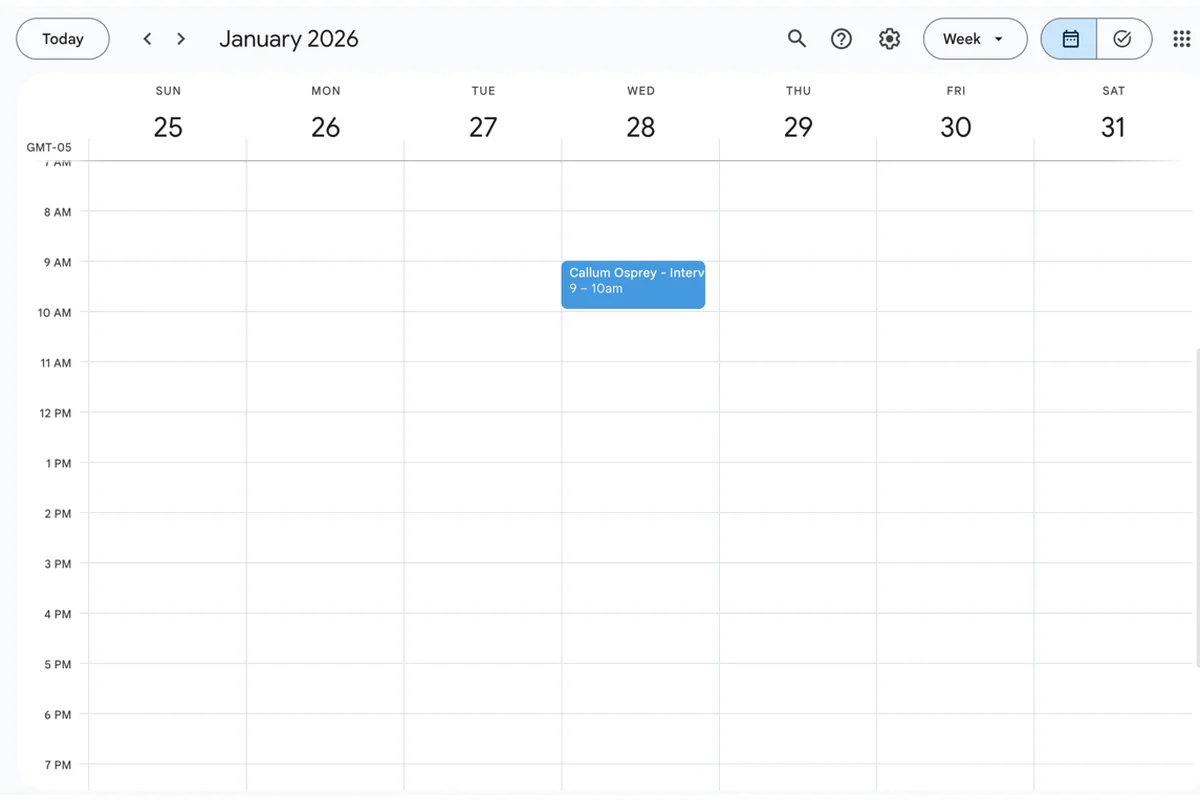
When calendar sync is enabled and configured properly, any form sign up for an option that is syncing with a calendar will automatically (instantly) be added to the calendar.
PUBLISH SIGNUP SLOTS TO A CALENDAR
Instead of (or in addition to) syncing individual sign-ups, you can publish your form's options themselves to a calendar. Each option that has a date/time becomes its own calendar event, and each event includes a link back to your signup form. This is ideal for posting a schedule to a shared or public Google Calendar: people can browse the events, click one, and go straight to the signup. Like all calendar syncing, this requires a Premium (or Boost) account and a connected Google Calendar.
Step 1
Make sure your options have dates/times set (see ADDING DATES/TIMES TO FORM OPTIONS above). Only options with a date/time are published; options without one are skipped.
Step 2
On the Form Options page, in the Google Calendar Sync section, turn on Publish signup slots to a calendar. This is a separate toggle from 'Enable sync for this form' (which syncs individual sign-ups), so you can use either one on its own.
Step 3
Under Publish slots to calendar, choose the calendar you want the slots to appear on. If you want members to see the schedule, pick your public/shared calendar. Only calendars you have permission to edit will appear in the list.
Step 4
Leave Include a "Sign up" link back to this form in each event checked so every published event contains a direct link to your signup form. Uncheck it if you don't want the link included.
Step 5
Your slots publish automatically every time you save the form, so the calendar stays in sync as you add, edit, or remove dated options. To publish or refresh them immediately, click Sync slots now.
What changes
Editing an option's date, time, or duration and saving updates the matching calendar event in place (no duplicates). Deleting a dated option removes its event. Turning the toggle off, or using 'Remove All Calendar Events', deletes the published slot events from your calendar.
Steps generated by StepHopper, a product of Grasshopper Signup - Create interactive step-by-step guides