Displaying Forms in Calendar View
Learn how to enable Calendar View on your form to allow respondents to view available options in a helpful calendar format.
You can enable Calendar View on your form to allow respondents to view available options with a helpful calendar view. To use this option, your form must have Date/Time settings enabled in advanced settings: Using Date & Time Settings.
Step 1
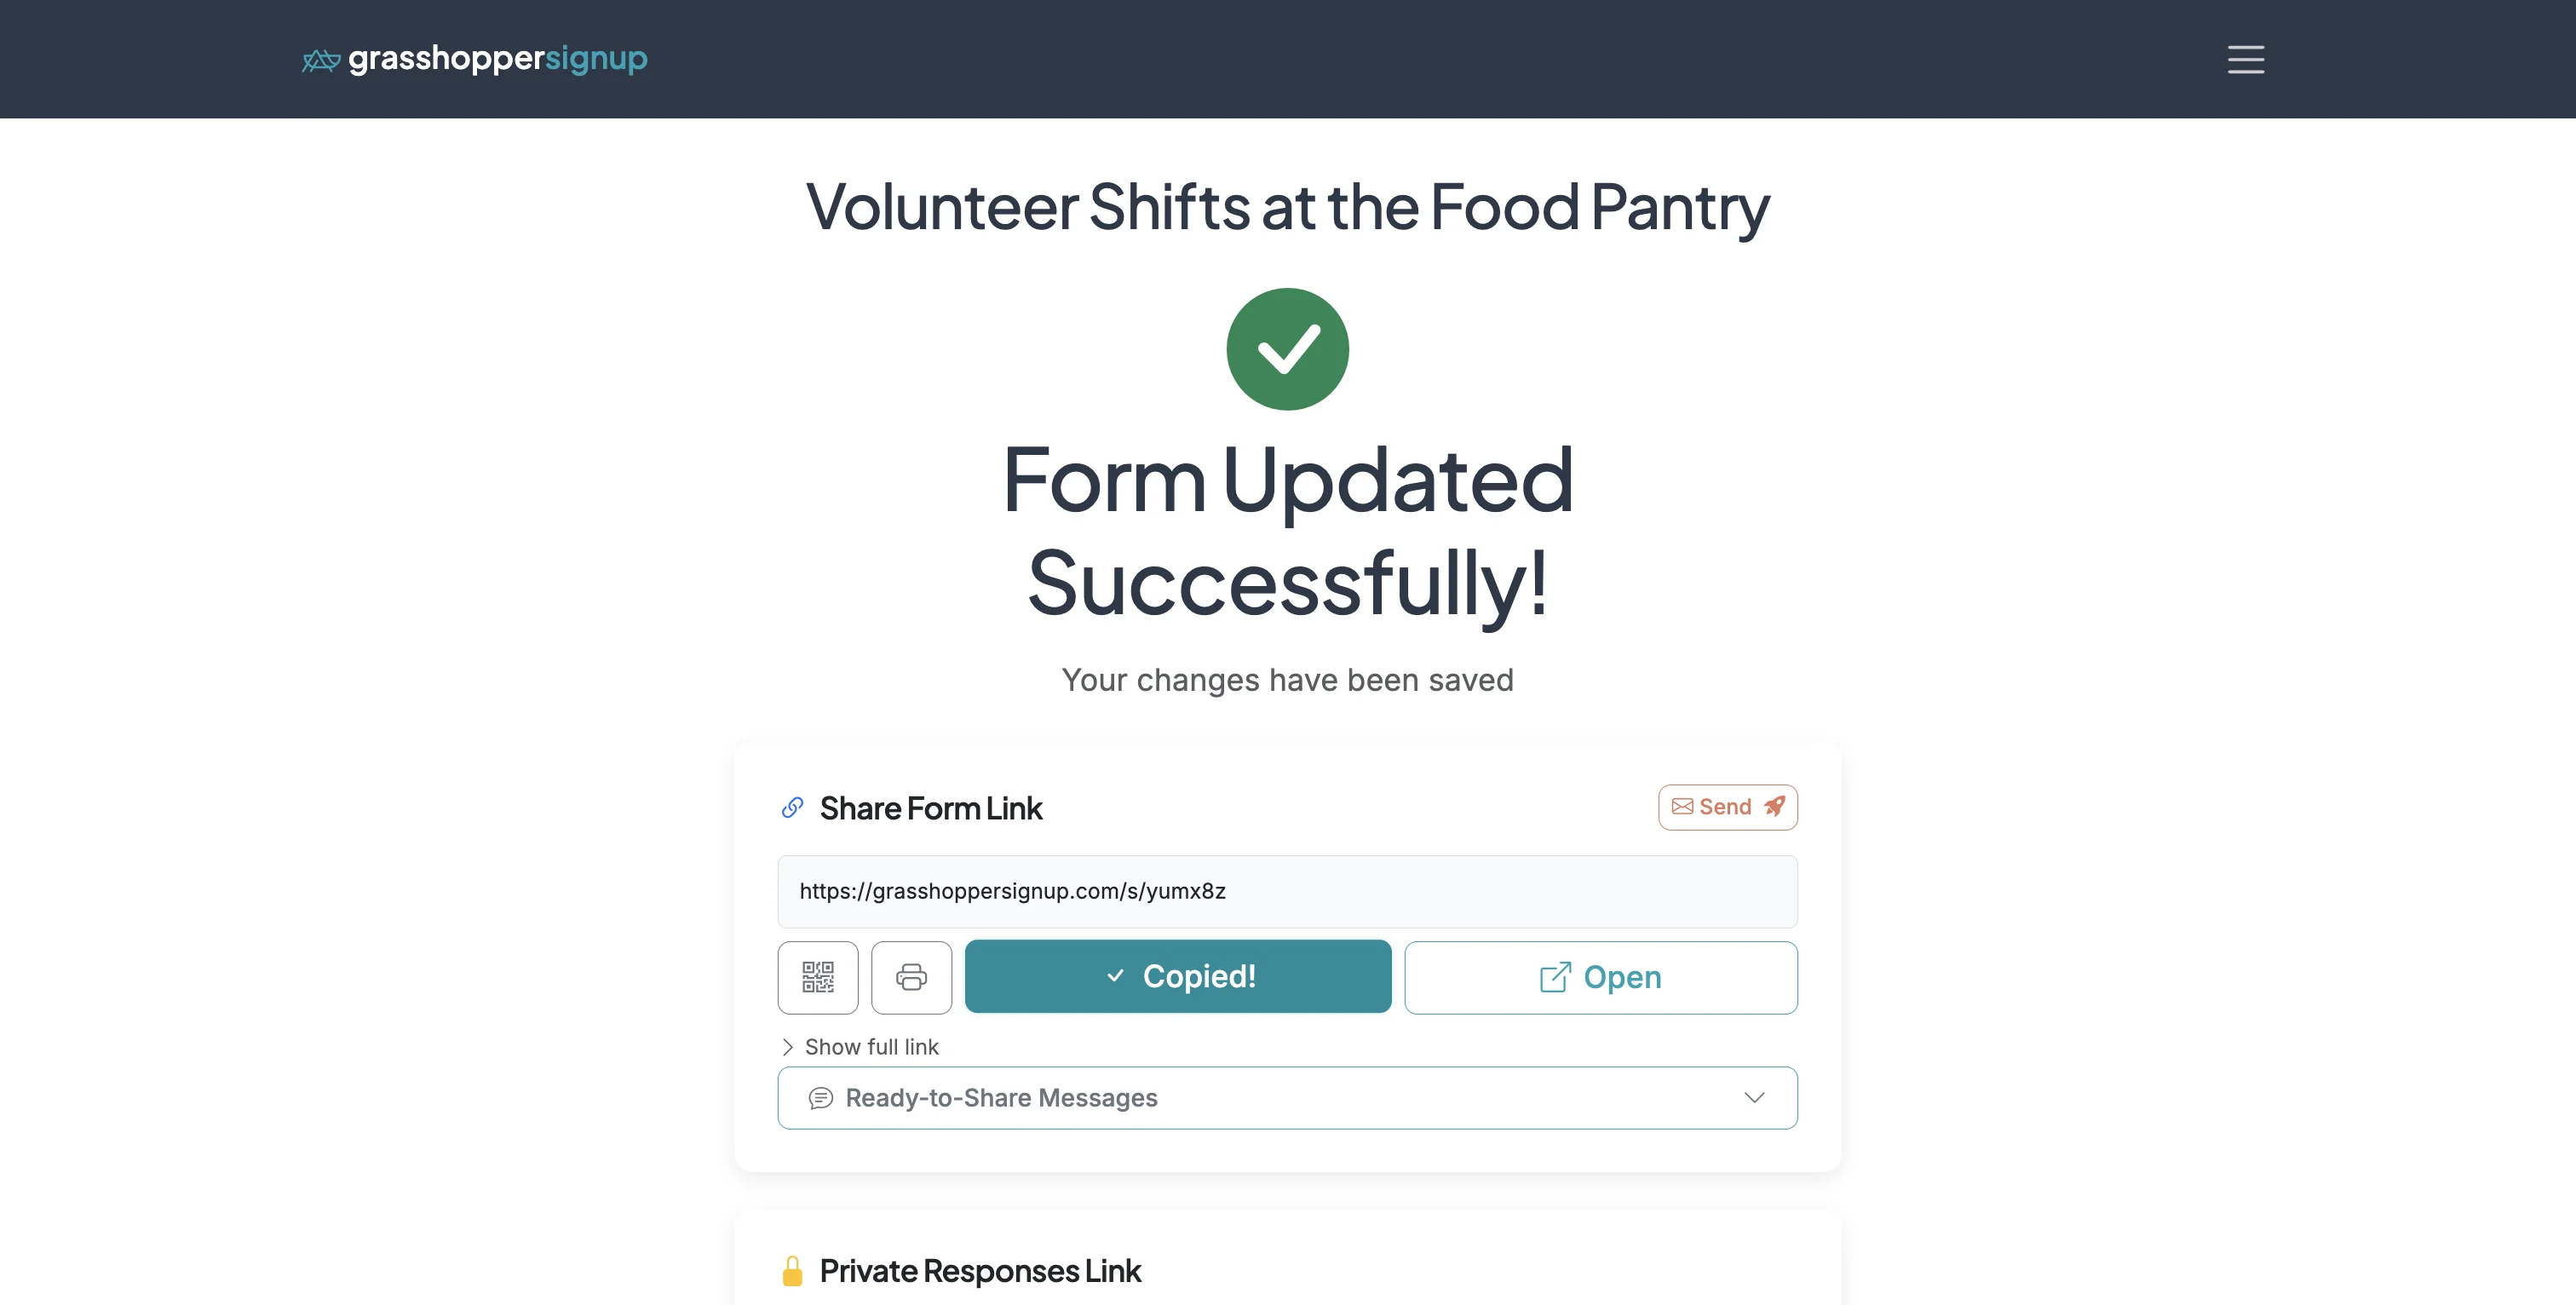
Start on the Form Options page of your form.
Step 2
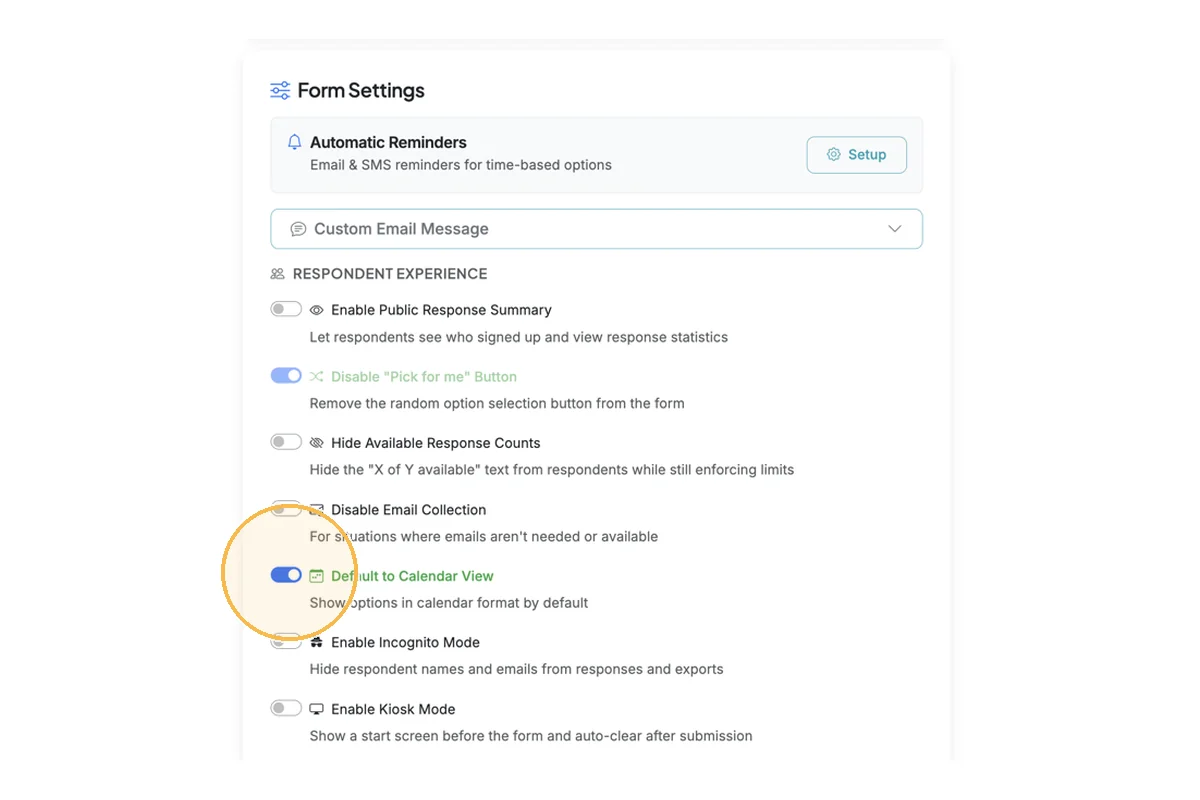
In the Respondent Experience section of Form Settings, enable the 'Show Calendar View' toggle.
Step 3
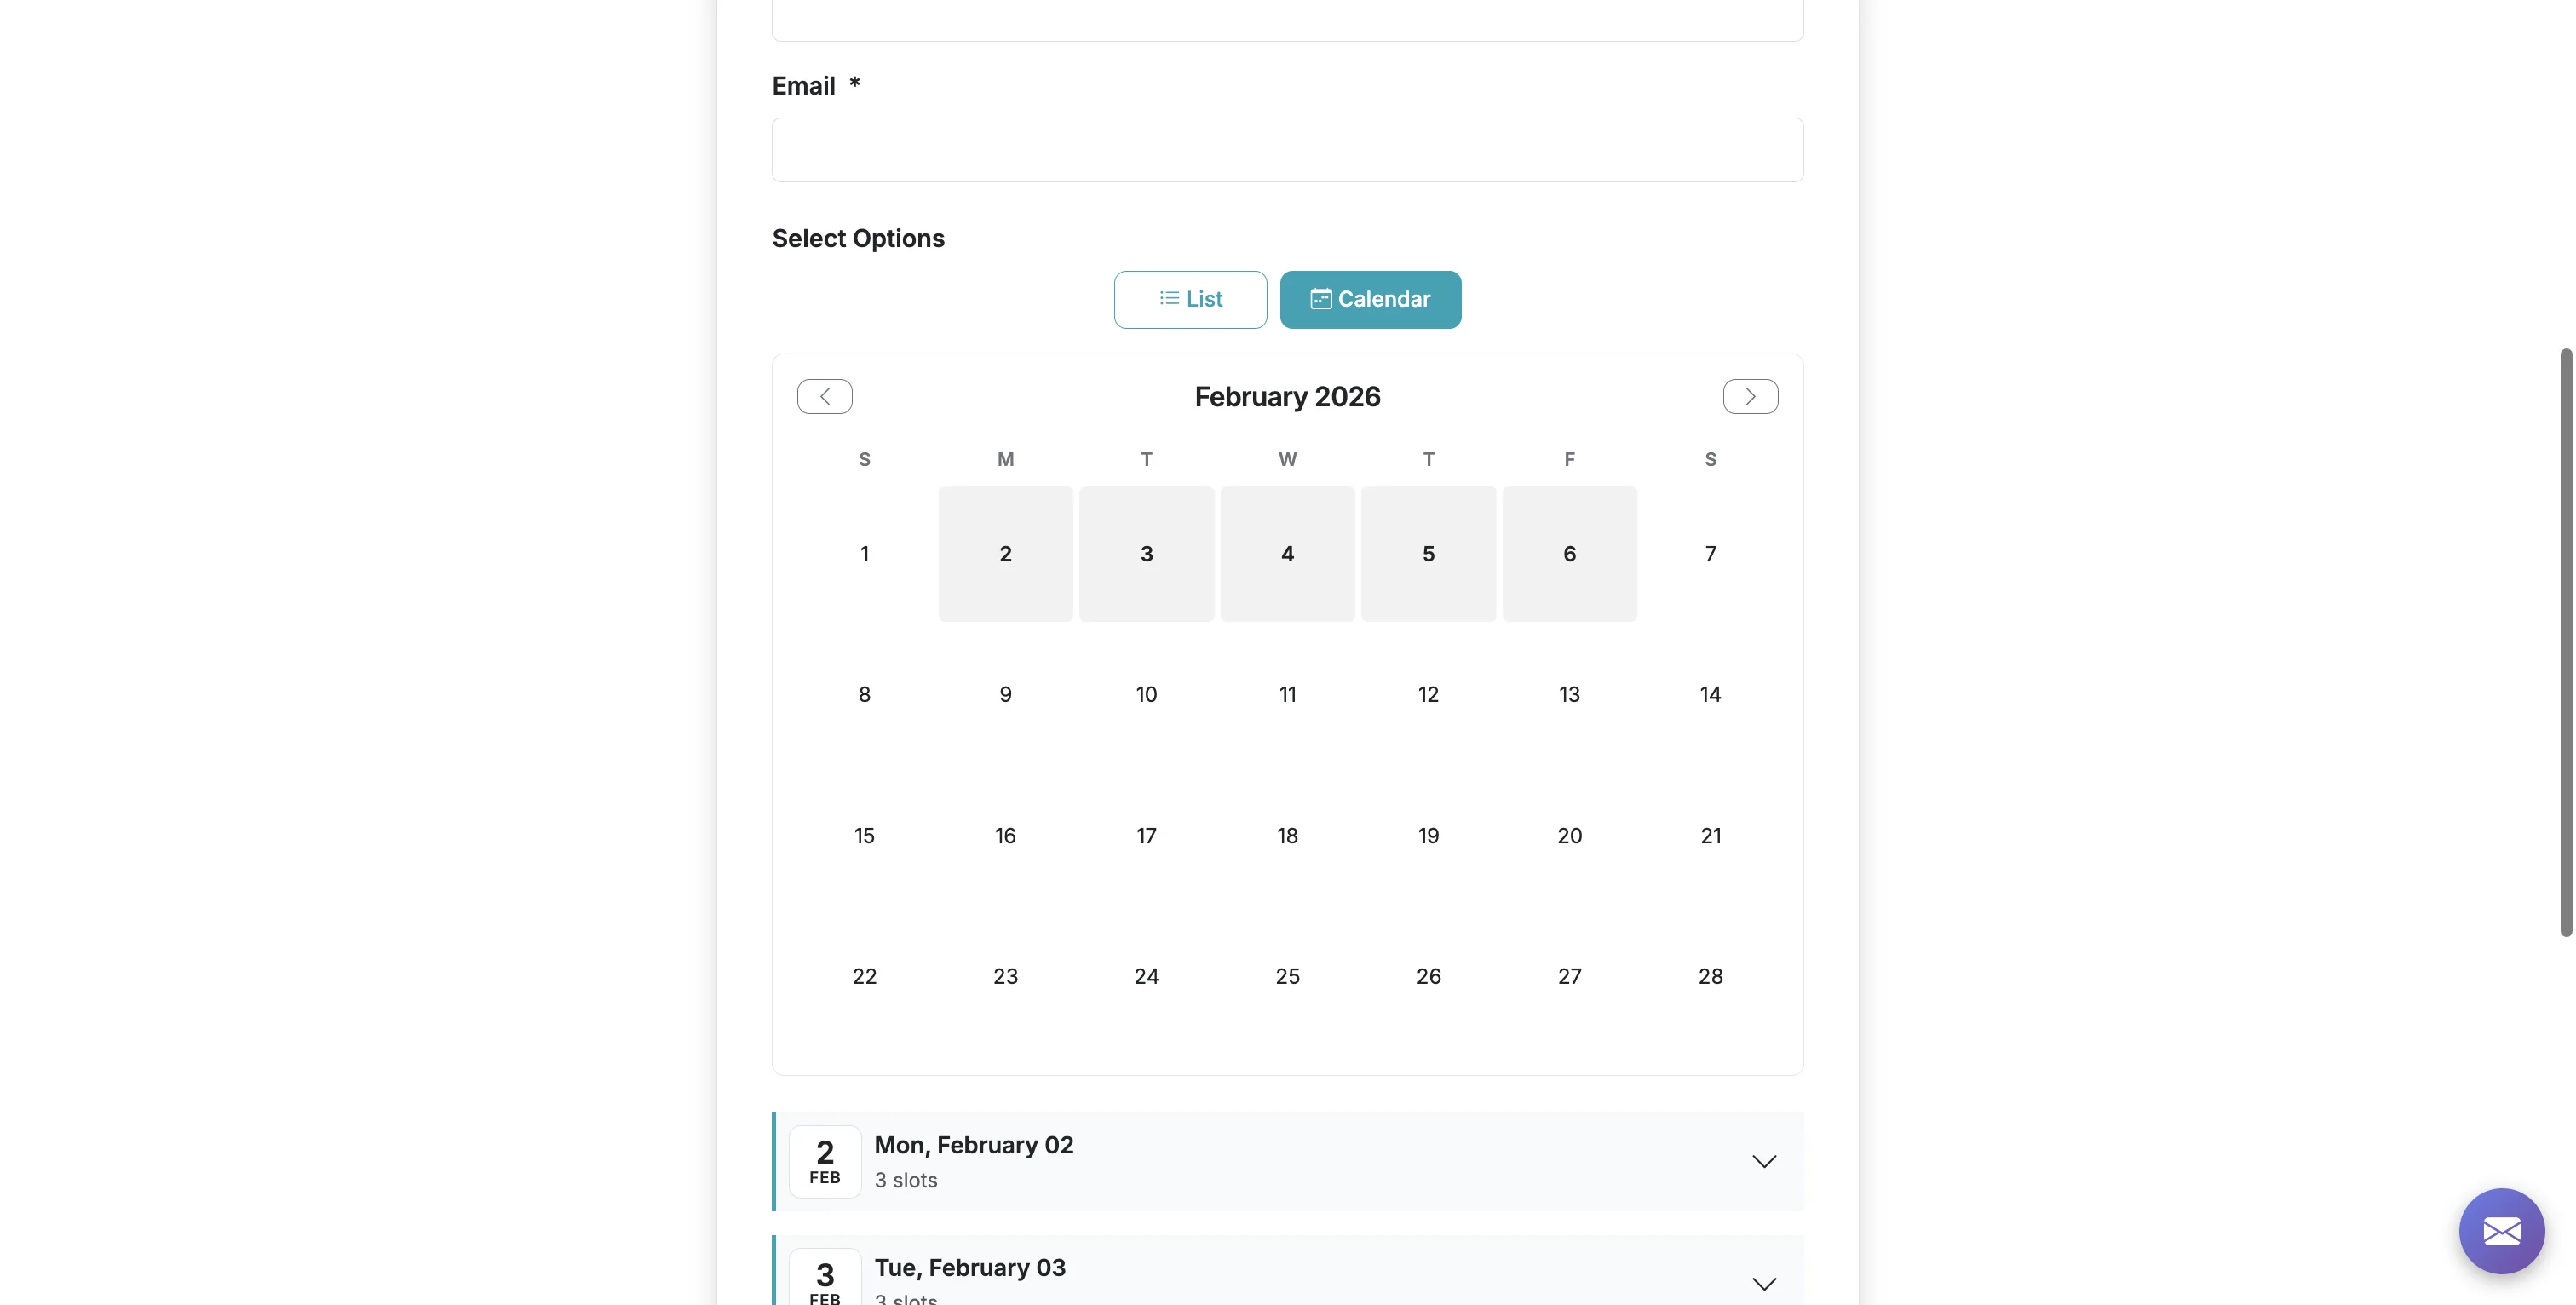
Your published form will now show a calendar view that highlights dates with available options.
Step 4
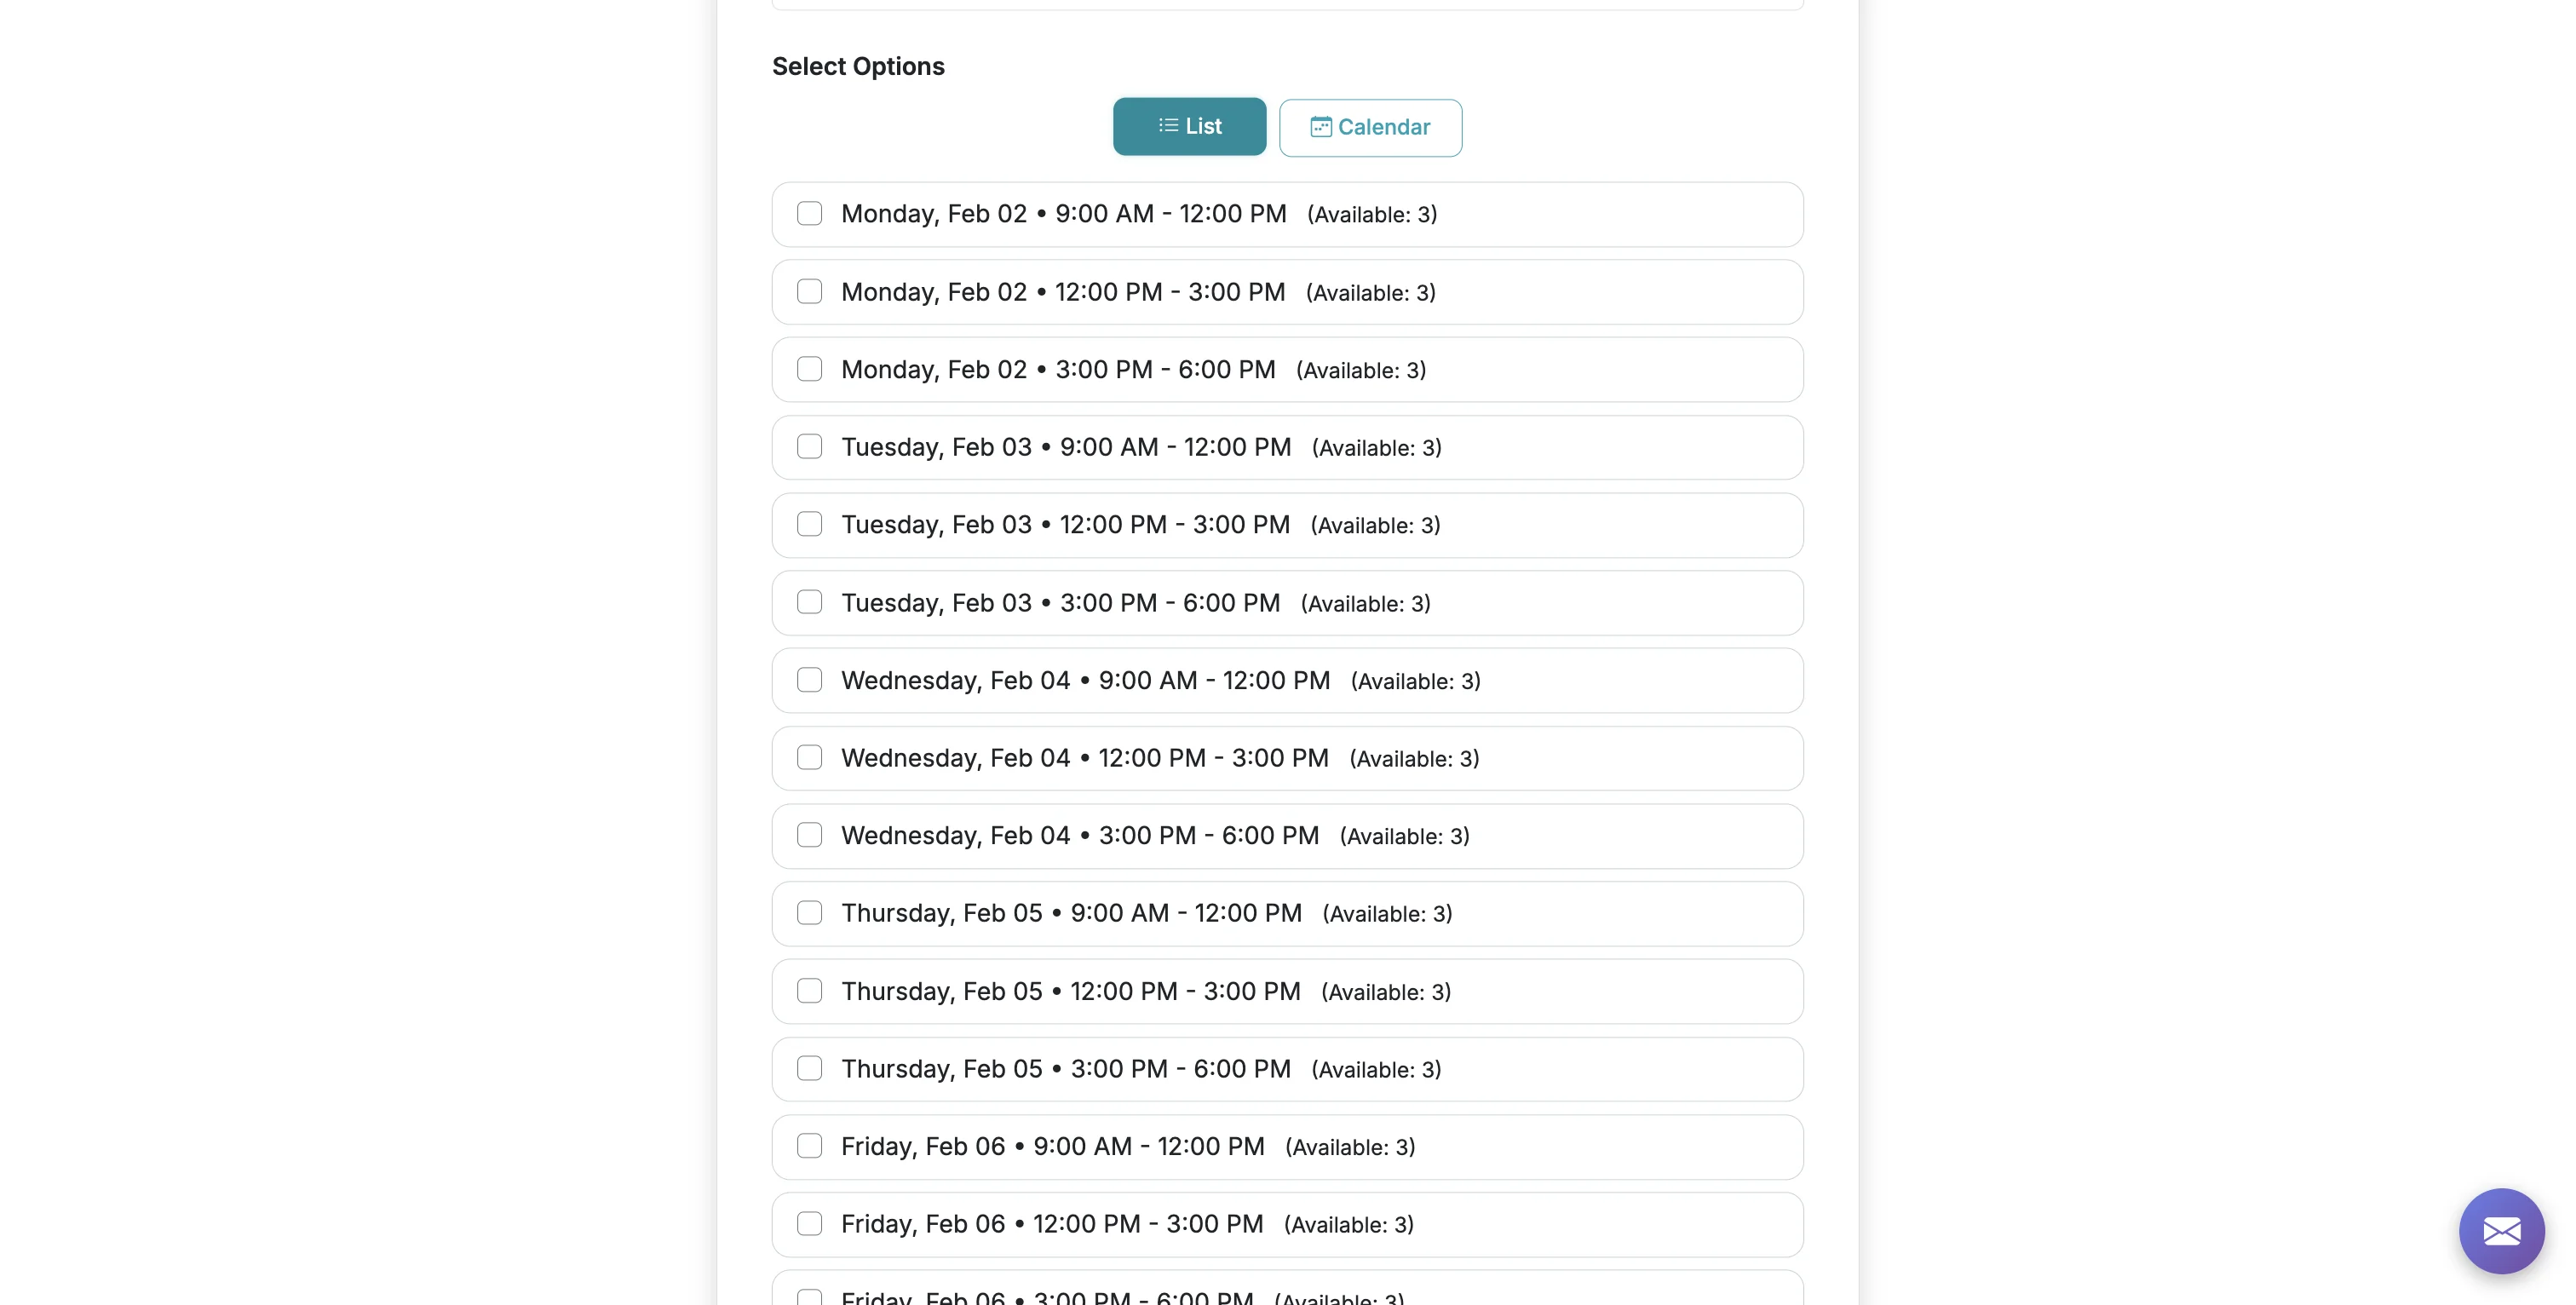
Respondents can also view the form in List view.
Step 5
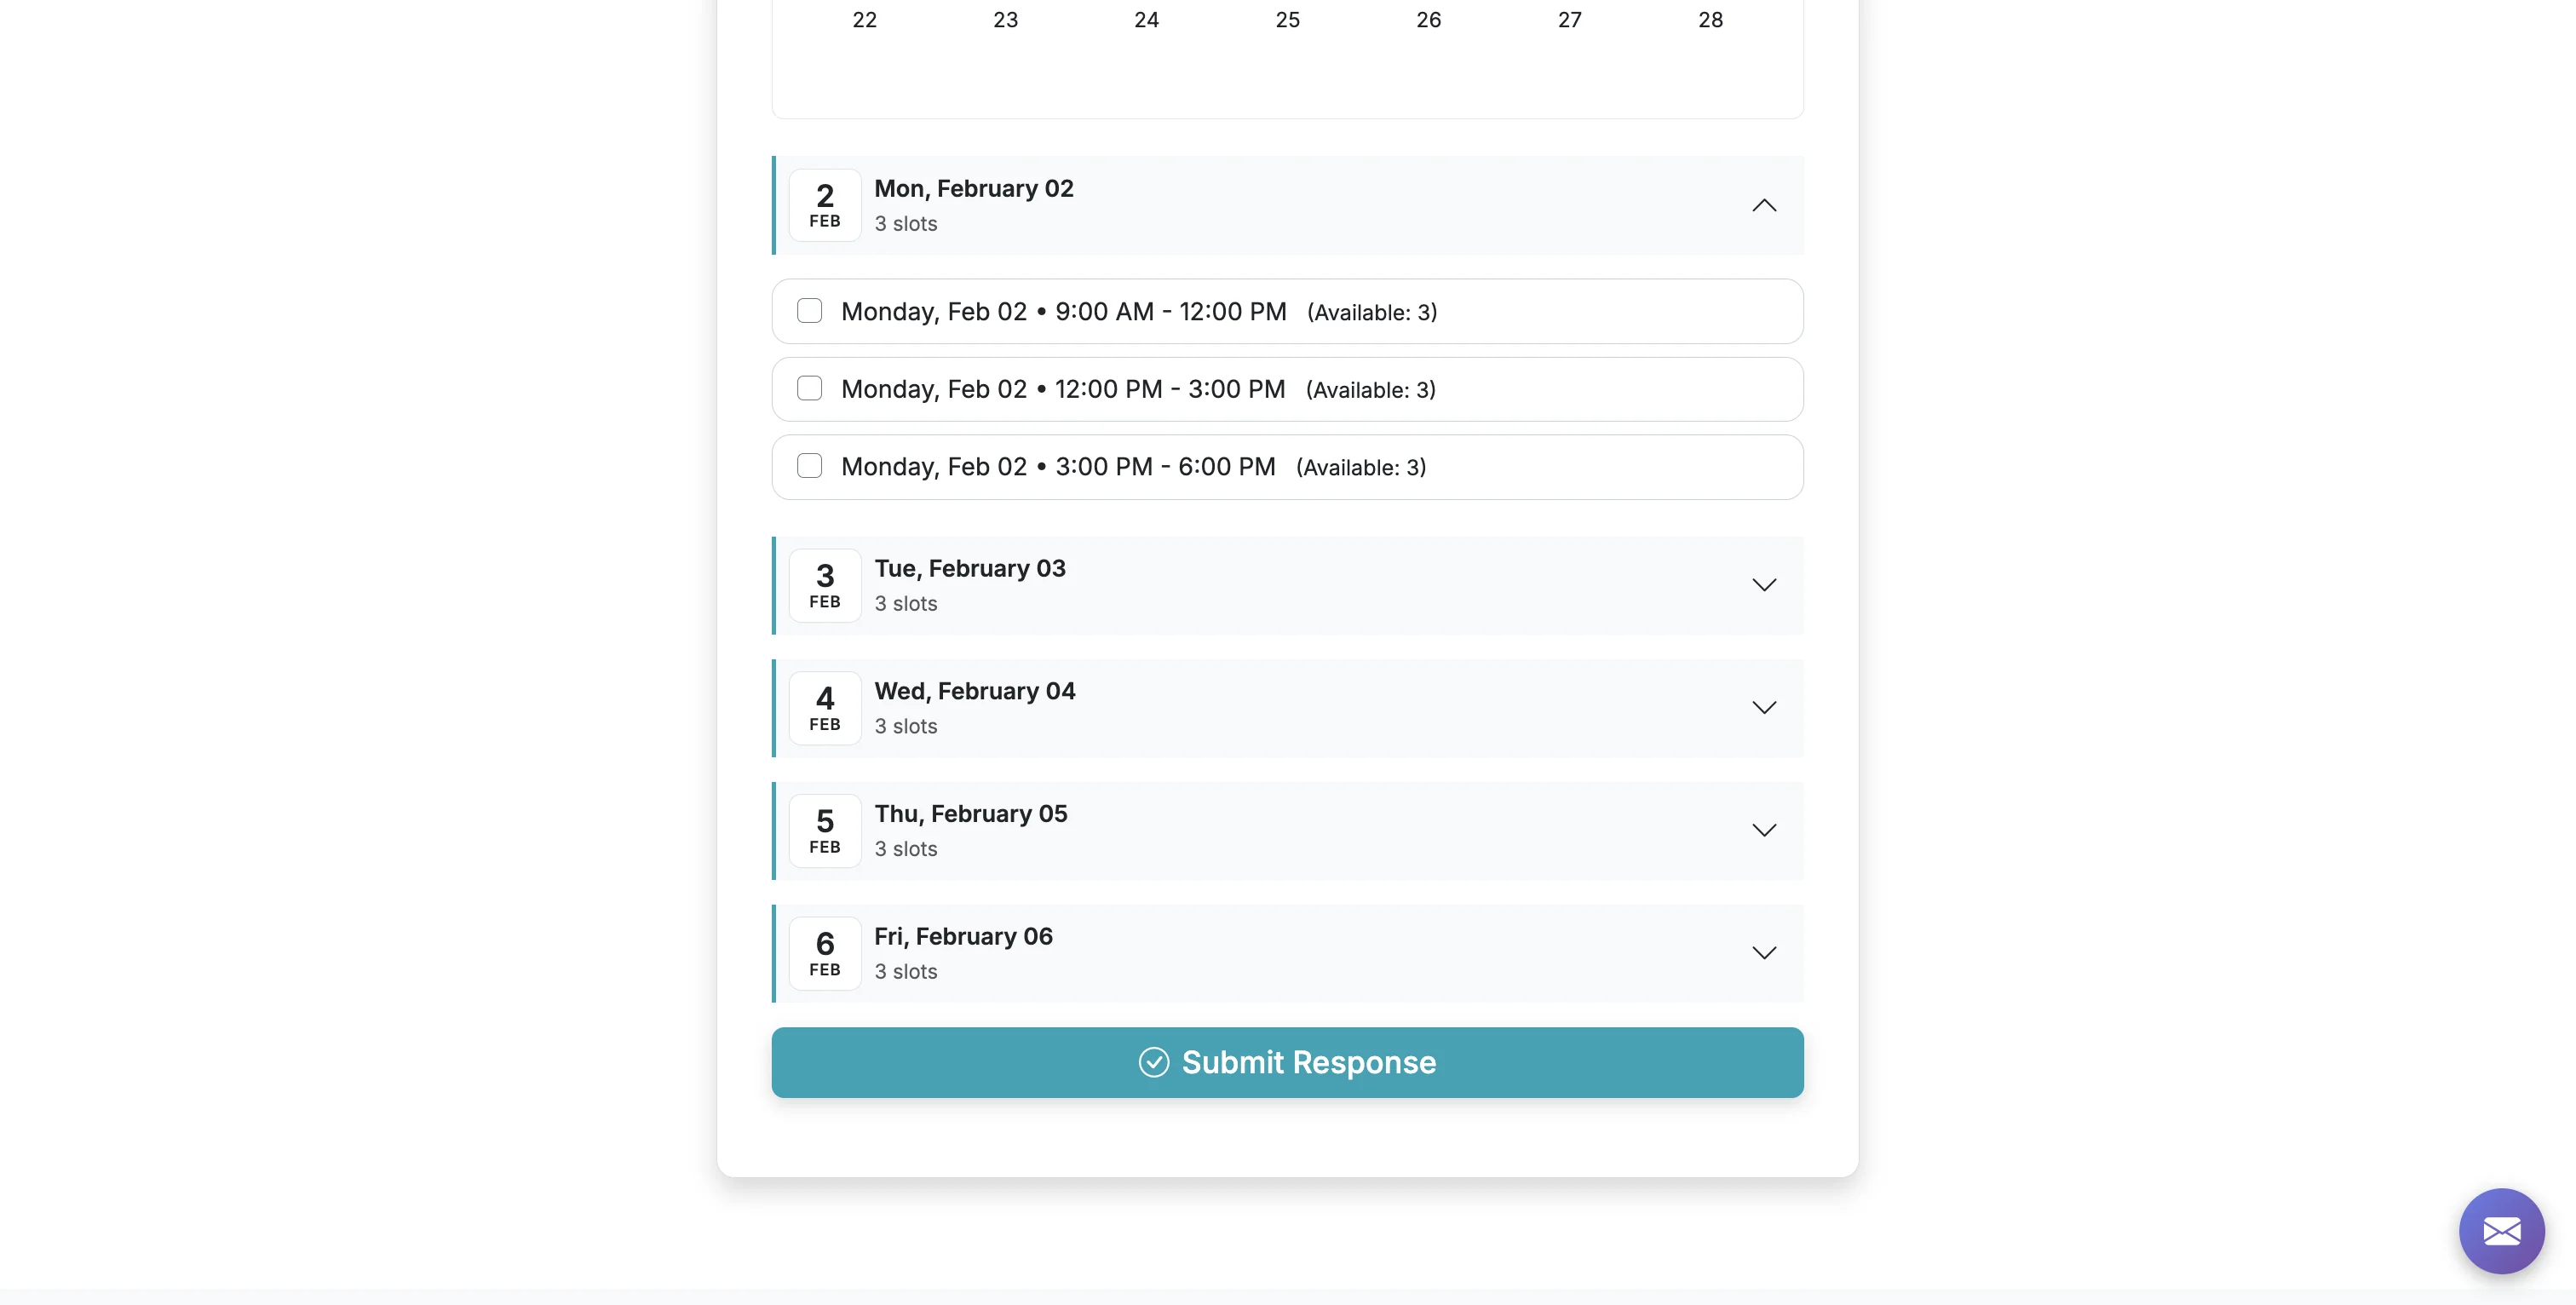
Clicking on a date on the calendar will take them to an expanded list of options available on that day.
Step 6
This is an example form using Calendar View: https://grasshoppersignup.com/s/yumx8z
Choosing which view opens first
Turning on Show Calendar View does two things: it adds the Calendar view to your form, and it makes Calendar the view respondents see first. List view stays one tap away via the List / Calendar buttons at the top of the options.
If you want the calendar available but prefer respondents to start on the list, turn on Default to list view (but show the option for calendar view). This option appears directly under the Show Calendar View toggle once it is on. Your form then opens in List view and the Calendar button stays available for anyone who wants it.
Turning Show Calendar View off removes the Calendar view entirely and clears the "Default to list view" option, so switching it back on later starts fresh with Calendar first.
Good to know: once a respondent taps List or Calendar on your form, their browser remembers that choice on later visits, so a returning respondent may land on the view they picked last time rather than your default.
Total Steps: 6
Steps generated by StepHopper, a product of Grasshopper Signup - Create interactive step-by-step guides