Add a Form Image or Icon
Learn how to add or upload an image, generate an AI image, use a preset icon, or adjust image settings for your form.
You can add or upload an image (graphic, photo, etc.), generate an image with AI, or use a preset icon on your form.
Sections in This Guide
- ADDING A FORM IMAGE/ICON
- UPLOAD AN IMAGE OR USE A SAVED LOGO/IMAGE
- GENERATE AN IMAGE WITH AI
- USE A PRESET ICON
- ADJUST IMAGE SETTINGS
ADDING A FORM IMAGE/ICON
Step 1
Start on your Form Options page.
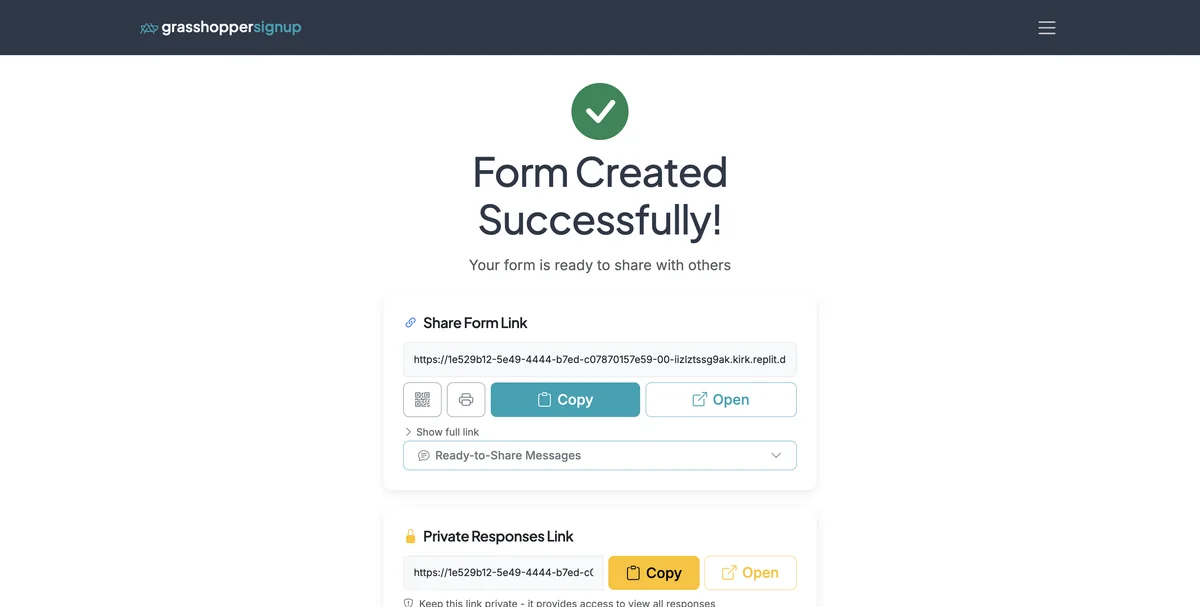
Step 2
Scroll down to the 'Form Image' section.
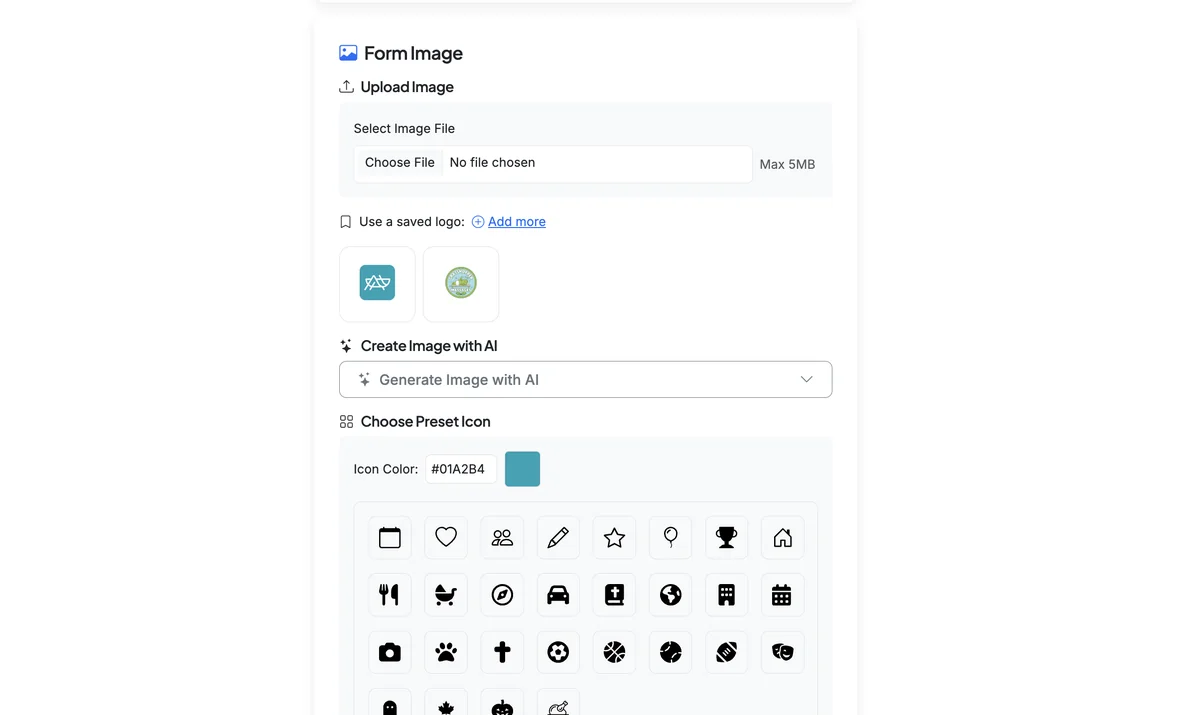
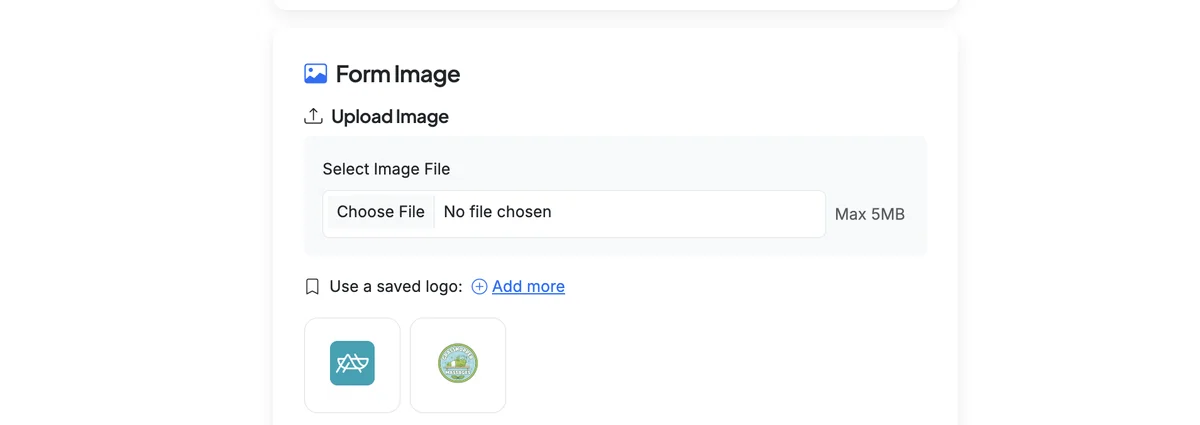
UPLOAD AN IMAGE OR USE A SAVED LOGO/IMAGE
Step 1
Select a file to use your own image or photo. Or, select from your saved images if you have logos or images saved to a brand profile.
GENERATE AN IMAGE WITH AI
Step 1
To generate an image with AI, expand the Create Image with AI section and type in the description of your image.
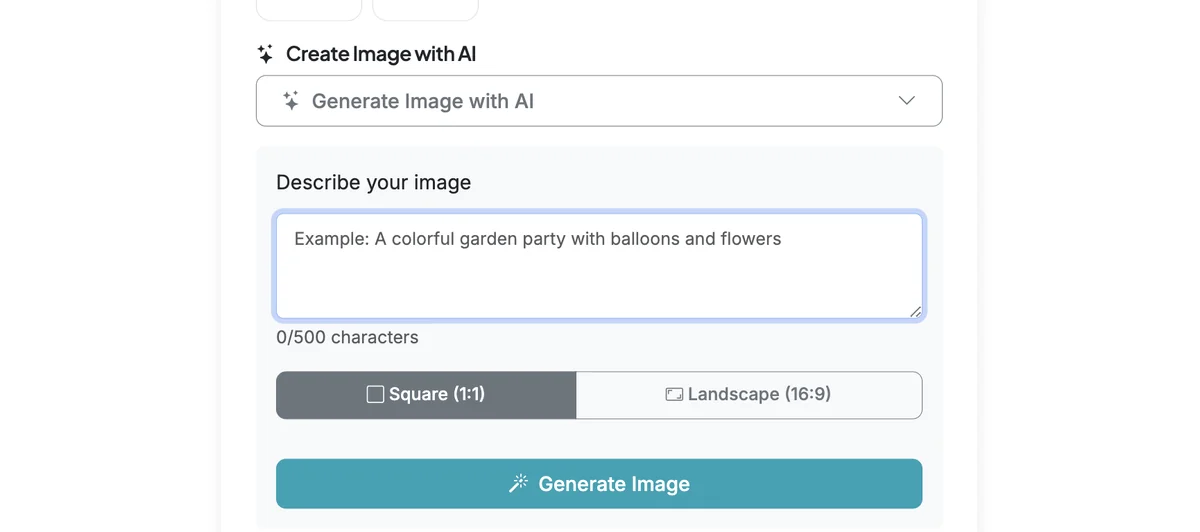
Step 2
When you click 'Generate Image' your request will generate an image for you to review.

USE A PRESET ICON
Step 1
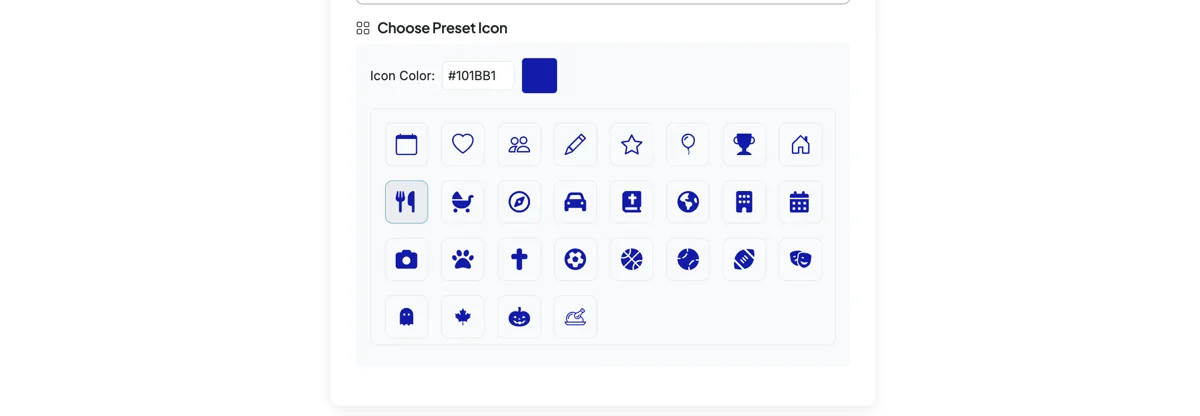
To use a preset icon, select the icon you would like to use. You can adjust the color of the icon using the color picker or hex codes.
ADJUST IMAGE SETTINGS
Step 1
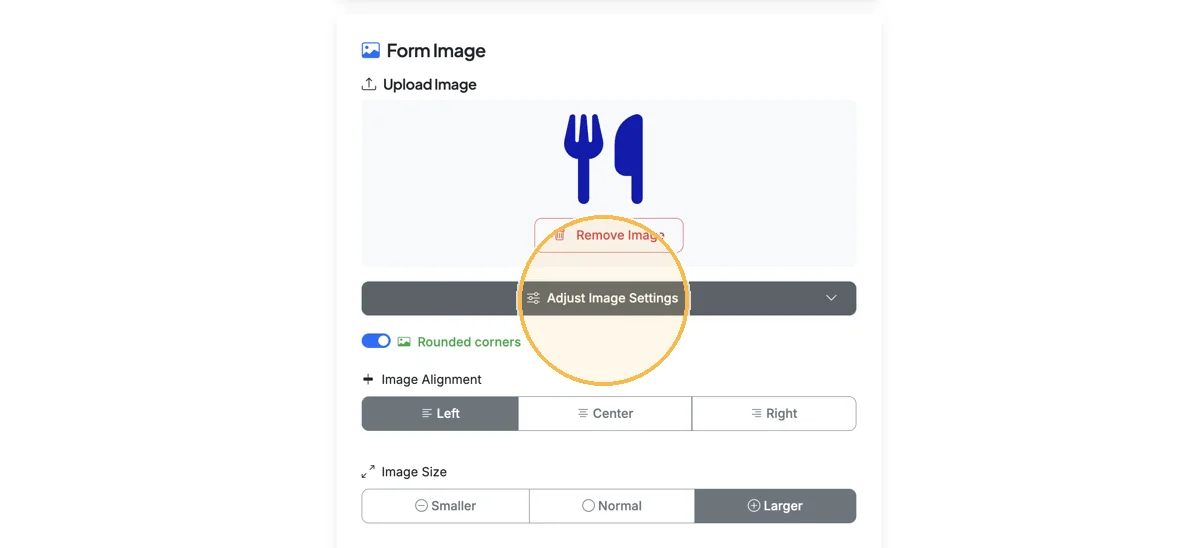
Once you have set an image for your form, you can view it in the preview (or on your form) and can adjust settings like alignment and image size.
Benefits of using form images and icons:
- Visual branding: Add your logo or custom graphics to match your organization's identity
- AI-powered generation: Create custom images instantly by describing what you want
- Quick icons: Choose from preset icons with customizable colors for instant visual appeal
- Flexible settings: Adjust alignment, size, and other settings to perfect your form's appearance
- Professional appearance: Images and icons make your forms more engaging and memorable
Total Steps: 7
Steps generated by StepHopper, a product of Grasshopper Signup - Create interactive step-by-step guides